Develop with local domain with reverse DNS.
I am CS Student currently perusing my bachelor degree. I love coding and implementing new logics. Aside from that I'm also a hardware lover and has great interest in IOT.
We are going to create a local domain like app.local, Create a self-signed wildcard certificate which will works for subdomains as well and point the domain to a locally running site.
Generate a self signed certificate
Create the CA Private Key
openssl genrsa -out MyPrivate.key 2048Generate the CA Root certificate
openssl req -x509 -new -nodes -key CAPrivate.key -sha256 -days 365 -out CAPrivate.pemCreate a Private Key
openssl genrsa -out MyPrivate.key 2048Generate the CSR
openssl req -new -key MyPrivate.key -extensions v3_ca -out MyRequest.csrCreate extensions file to specify subjectAltName
Create an extensions file named: openssl.ss.cnf
 basicConstraints=CA:FALSE
 subjectAltName=DNS:*.mydomain.tld
 extendedKeyUsage=serverAuth
Replace "mydomain.tld" with your own domain like
app.local.Generate the Certificate using the CSR
openssl x509 -req -in MyRequest.csr -CA CAPrivate.pem -CAkey CAPrivate.key -CAcreateserial -extfile openssl.ss.cnf -out MyCert.crt -days 365 -sha256
Install and configure Nginx ProxyManager
Follow this up to date guide to install and setup Nginx Proxy Manager
Configure SSL certificate in Nginx
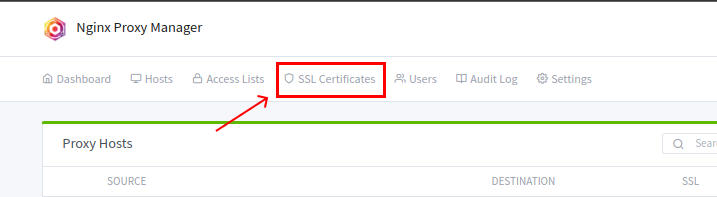
Go to SSL Certificates tab in Nginx Proxy Manager Dashboard
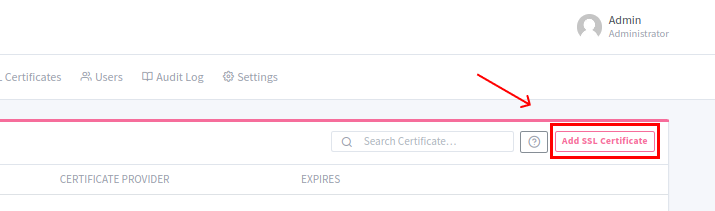
Click "Add SSL Certificate"
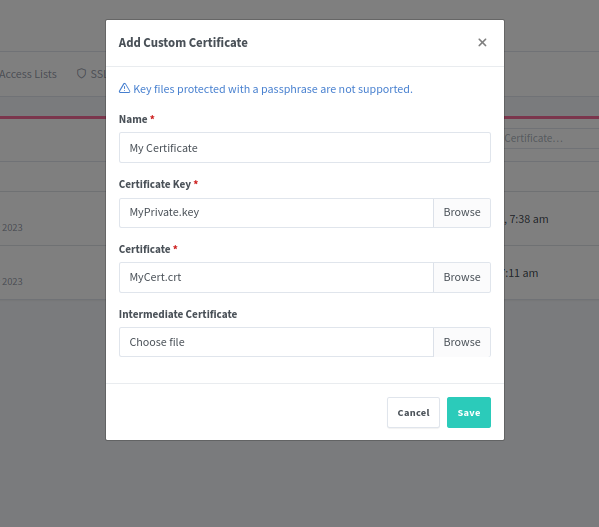
Choose "Custom"

Choose "MyPrivate.key" as Certificate Key and "MyCert.crt" as Certificate which were generated during certificate generation step [1] and save it.
Add a Proxy Host
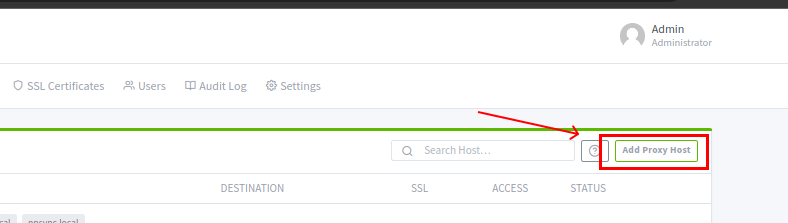
Click on Dashboard and Go to Proxy Hosts
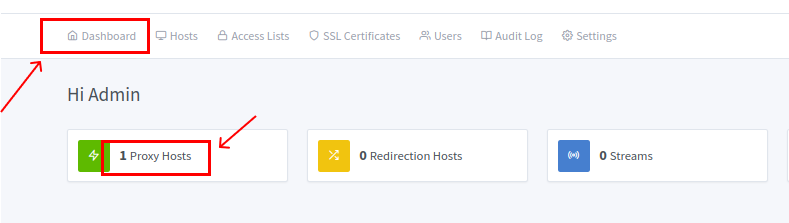
Click on Add Proxy Host
Enter the details
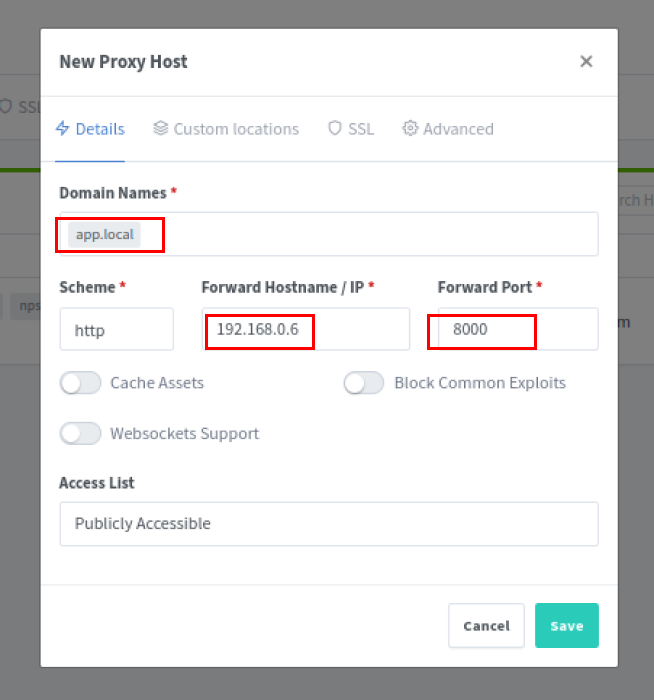
Domain names: Your domain name and subdomains
Forward IP: Local Network IP address of your machine in local network. Note: 127.0.0.1 or localhost will not work here and cause 502 error later on. So use the local network address assigned by your router.
Port: The port address in which your service is running.
Go to SSL tab and choose the previously uploaded SSL Certificate and click Save.
Notes:
If your subdomain should point to multiple servers running on different ports, then create separate proxy host entry for each domain or subdomain. If your application handles the domain and subdomain routing then include all domains as well as subdomains in the same entry.
If your application does not serve in the host mode by default, make sure your application is running in host mode. Otherwise your application will not be accessible in local network. Different framework have different commands to serve in host mode. Common command is to include `--host` in the serve command.
Configure /etc.hosts
Open a hosts file with sudo
sudo nano /etc/hostsAdd your required entries like this. Any domain or subdomain should point to 127.0.0.1

That's it. Now when you visit your domain from the same machine, you should be able to visit your services and applications. Make sure your application or server is running and serving in host mode and configured port address.